✨ Make Your Own LED Skirt!
Hi again! Today I’m going to walk you through how to make an 🌟LED skirt 💃that lights up when you move! This project helped me learn a little bit about fashion, electronics, and coding. I didn’t just 🪡sew fabric; I 💻programmed lights, 🔧built circuits, wired sensors, and turned a normal skirt into a wearable light show.
There are 11 main parts to this project, but don’t worry — I’ll walk you through the magic step by step!
#1. My Dad helped me choose my fabrics for the LED skirt, which has three layers:
Outer Layer: Blue, semi-transparent polyester — this softens the lights and makes the glow dreamy. Darker colors hide the LEDs when they’re off.
Mid Layer: White cotton — this layer holds the LED strips and all the Velcro. It also guides the wires like little LED highways.
Inner Layer: White lining fabric — this keeps the skirt comfy and reduces resistance when it moves.
#2. I’m only eight years old, and I know my limitations. So my awesome grandma, Farmor, ✂️sewed the skirt for me, using a six-panel skirt design because the smaller pieces are easier to handle when sewing in electronics. She added a: (1) waistband that fits you or whomever you are making this for, (2) side zipper, and (3) secret back pocket for the controller and battery.
Next, it was time to sew on the Velcro pieces onto the skirt mid-layer, so the LED strips can be attached and removed, as needed. This project used 20 LEDs per strip with each strip measuring ~33cm in length. Each LED strip gets 4 pieces of Velcro to stay secure: one at the top, one at the bottom, and two in the middle. I was more helpful here, cutting 24 Velcro pieces, measuring 2 cm × 1 cm.
💡 Did you know? Velcro was invented after a scientist noticed burrs sticking to his dog’s fur! Read more here: https://www.youtube.com/watch?v=D1z8E5VCxQ4
Measuring LED’s!!
In this photo, I’m checking the length of each LED strip so they match the layout of the skirt. Precise measurements are super important — even a small mismatch can throw off the wiring.
#4. Once all the Velcro was sewn onto my skirt, I attached the ✨LED strips by fastening them to the Velcro, and then routed the wires and battery box into place. Then, I connected the LED strips to the QT Py microcontroller, using the signal wire from the LED strip to pin A3 on the board. Finally, I added a 5000 mAh power bank 🔋, which powered the skirt for two hours of trick-or-treating, and I’ve read it should be enough to run the skirt all day as long as all the LEDs are not on at once.

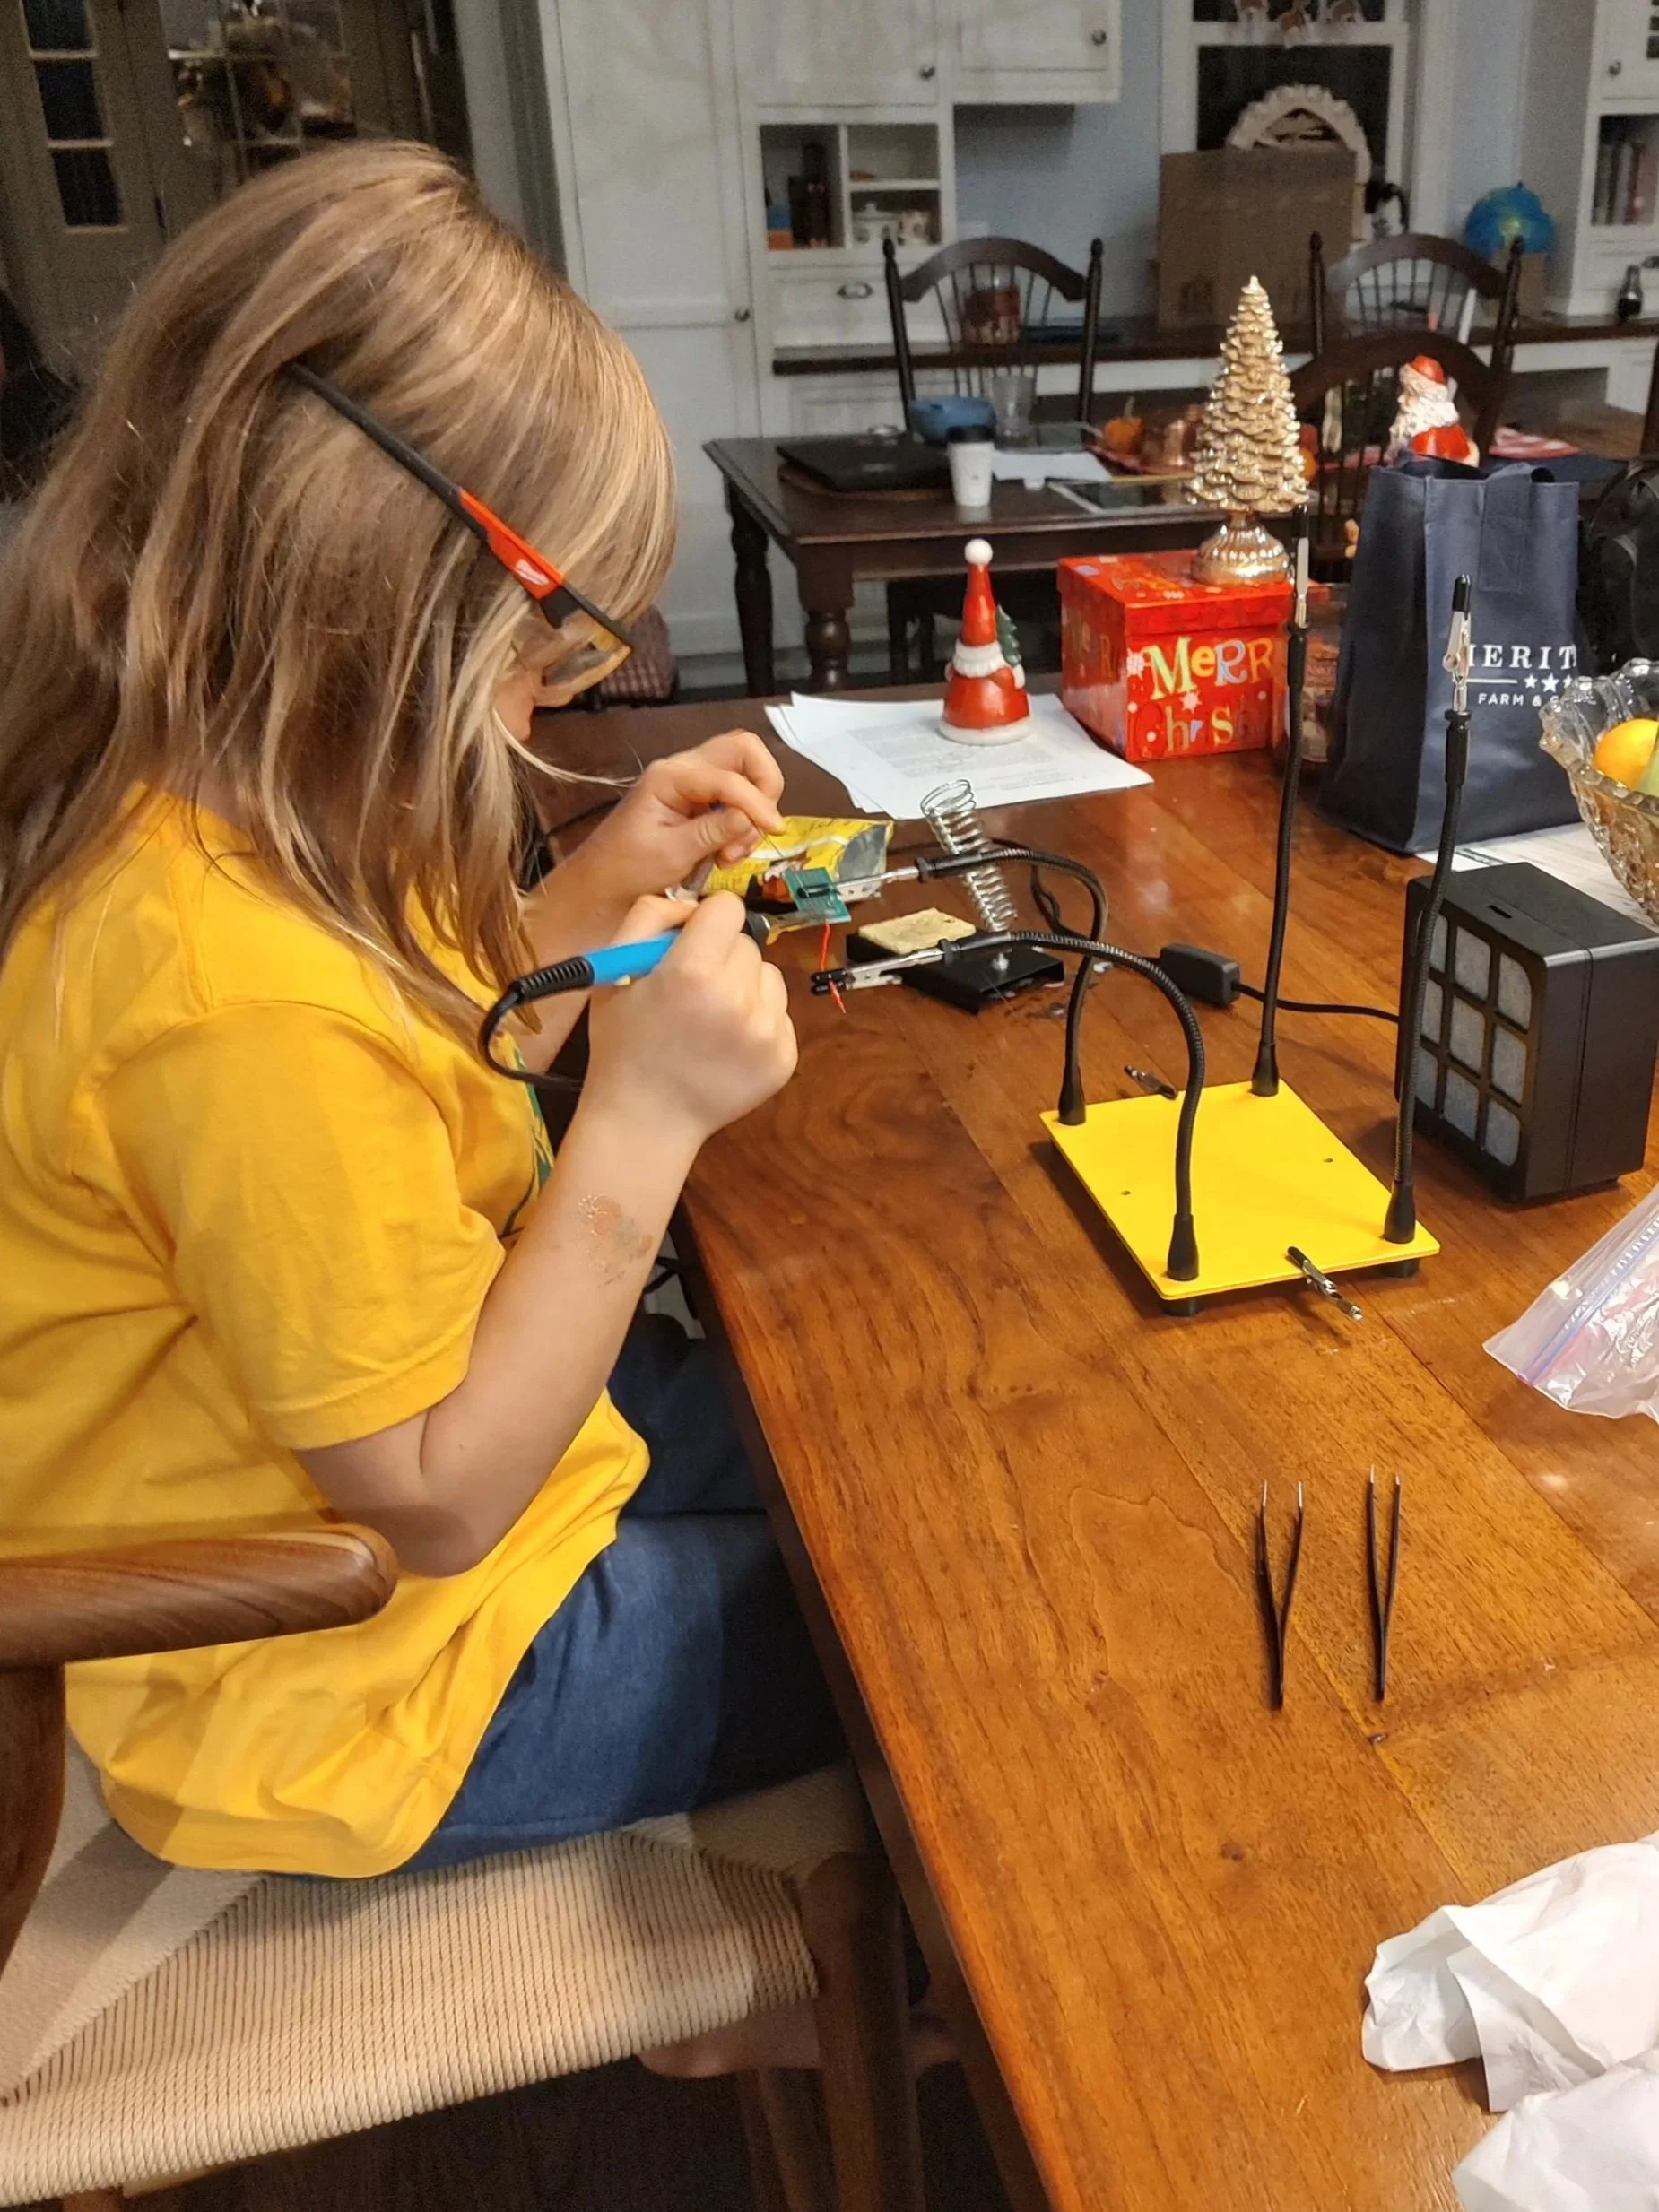
LED soldering
This is when I was soldering all the LED’s together. It was A LOT of work. I actually had to re-do it because I had but the LED’s on upside down!!
5. The Controller & Power Setup
This part felt like wiring a tiny robot.
The LED signal wire connects to pin A3 on the QT Py microcontroller.
I reused the connectors that came with the LED strips so they could easily unplug when the skirt needs washing.
Everything — the controller, sensor, and a 5,000 mAh USB battery — fits into the pocket at the back.
When you plug the QT Py into the power bank…
BOOM — the whole skirt wakes up and glows.
6 & 7. Programming the Skirt: Where Coding Meets Art
For the software, you can use CircuitPython or the Arduino IDE.
I used Arduino because it let me add a special library that splits one LED strip into “virtual strips.”
That means:
The LEDs act like multiple separate strips
I can run cool animations
I can trigger effects using motion from the sensor
We used a “bouncing ball” animation to show how the 6-axis motion sensor works — when you run, jump, or spin, the LEDs react!
The code:
Reads motion data
Calculates how strong the movement is
Triggers the “bouncing ball” animation when the motion passes a threshold
Cycles through colors or keeps one color depending on what you choose
It’s like the skirt has feelings — it responds to every move you make.

Make it stand out
This is the LED’s FINALLY lighting up after working on them for weeks! I was amazing seeing that all my work paid off!
8. Uploading the Code
To load the program onto the QT Py, I followed Adafruit’s guide for flashing the board. It explains everything — including how to switch to CircuitPython if you ever want to upgrade or customize your effects.
Here’s the PDF tutorial I followed:
👉 https://makezine.com/projects/motion-animated-neopixel-led-skirt/
Final Thoughts
Creating this LED skirt made me feel like a fashion designer, engineer, coder, and inventor all at once.
I learned how fabric, electronics, and coding can team up to create something totally new — something that moves, lights up, reacts, and feels alive.
If you ever want to mix art with science, I definitely recommend trying wearable electronics. It’s the perfect blend of creativity, coding, and hands-on making.
Until next time — keep glowing and keep creating!